When you’re promoting a product — whether it’s a skincare cream, a gadget, or a fashion accessory — the visuals really drive your audience. But what if you could skip the photo shoot and go straight from a simple idea to rich, polished image concepts—ready to drop into your video campaign? That’s where Nano Banana inside invideo steps in. You get integrated access to image‑generation, editing, and video workflows — all in one place.
In this article, we’ll cover:
- What Nano Banana is and how it works for product visuals
- Why this workflow gives you an edge for product image assets
- A step‑by‑step guide to generate strong product image concepts directly in invideo
- Best practice tips for product prompts, styling, and consistency
- How to move those image concepts into your video workflow
Let’s dive in.
What is Nano Banana?
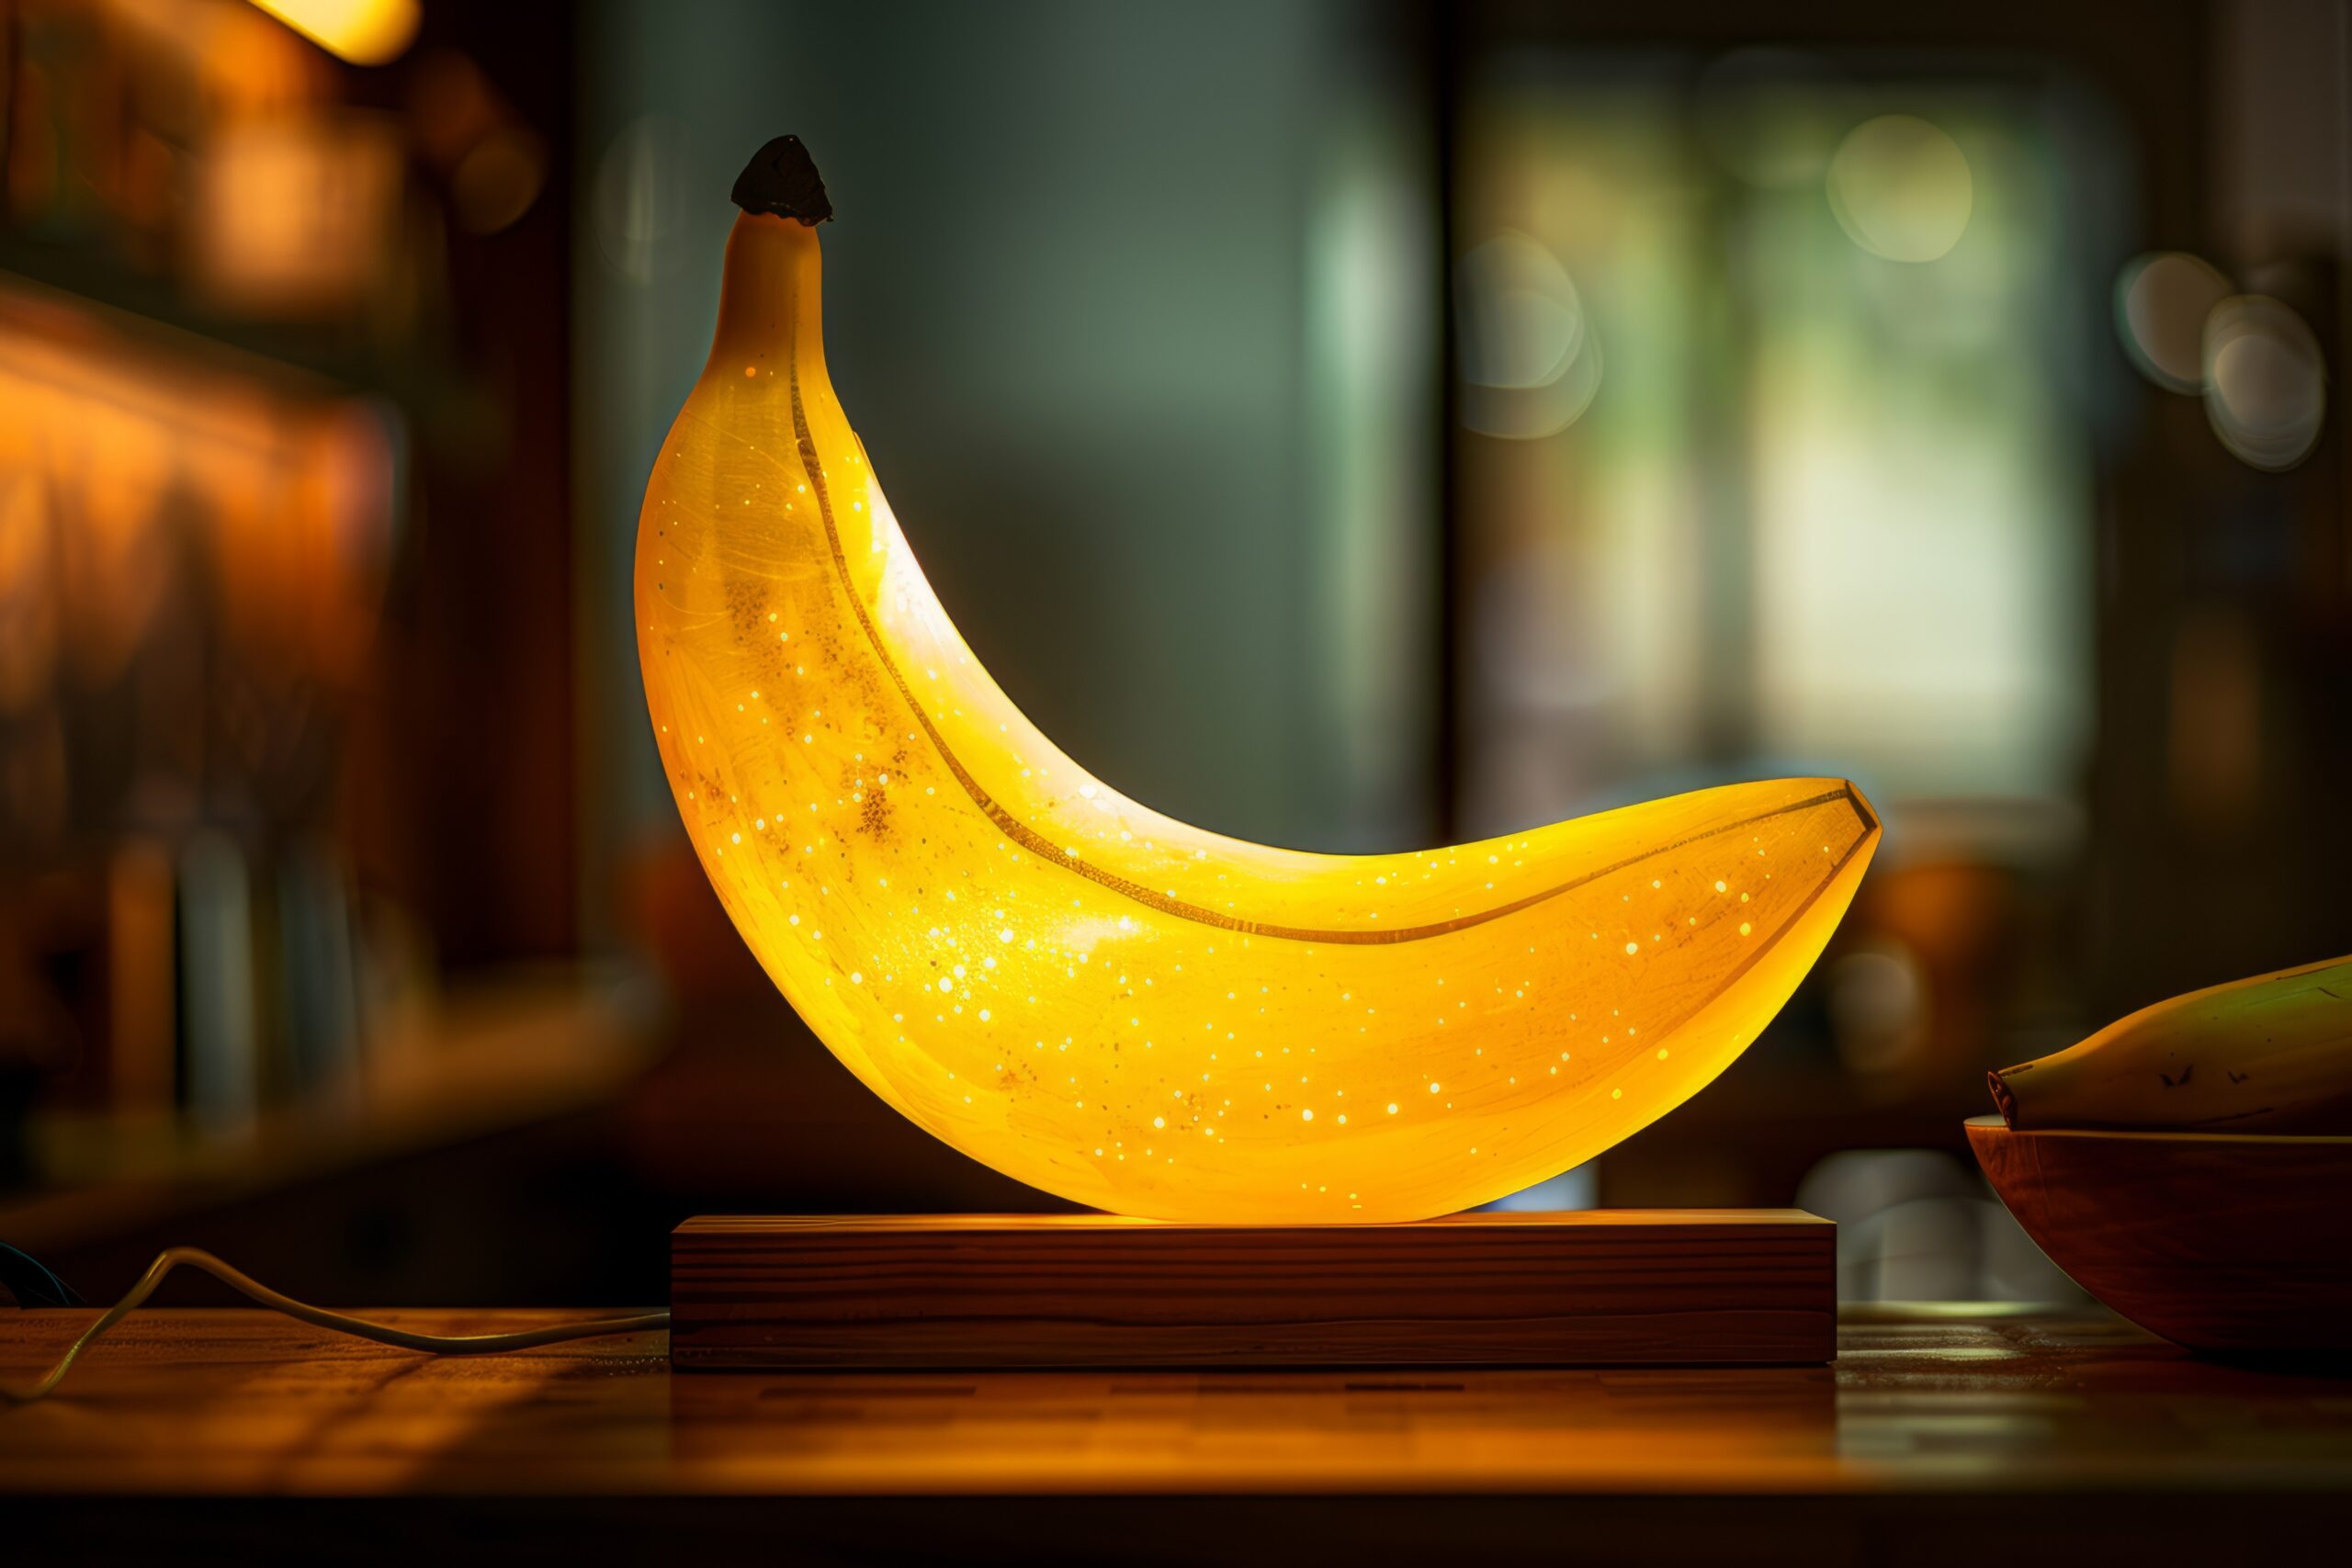
“Generate & edit images with Nano Banana Pro, powered by Gemini 3.0 Pro” is how the invideo landing page describes it.
Here is what you should know:
- It is an AI‑image generator integrated inside invideo’s Agents & Models panel. You select “Nano Banana Pro” (or the base version) to create images.
- Key capabilities include: 4K resolution output, advanced lighting and camera‑angle controls (wide, medium, close‑up, top‑down), strong text‑rendering inside images, character or object consistency across multiple frames, and faster generation speeds.
- Because it’s in invideo, once you have your image concepts, you can immediately bring them into the editor for motion, voice‑over, animation, captions — the complete pipeline from image idea to video.
When you’re building product‑centric visuals, this is a big deal: you’re not only creating an image, you’re generating a branded asset that can easily transition into a video ad or social post (without needing separate design tools or external editing workflows).
Why This Works for Product Image Concepts
Here are the main benefits of using Nano Banana for product visuals:
1. High Resolution & Quality
Because product images often need to be crisp (especially if you’re zooming in, showing details, or cropping for thumbnails), the ability of Nano Banana Pro to support 4K and finer detail matters.
A lower‑quality image can ruin your visual credibility; with high fidelity, you’re set up for real campaign use.
2. Consistency Across Frames
If your product campaign has multiple variants (different colours, angles, environment shots), then maintaining consistency is key. Nano Banana supports reference‑image uploads and consistent character/object rendering to ensure your visuals match.
That means if you show your product in a wide shot and then a zoom‑in, the style, lighting, and brand tone will feel uniform.
3. Speed and Efficiency
Instead of booking a studio, setting up lighting, hiring models, and then editing photos, you can type a prompt, generate concepts, tweak, and plug them into your video editor. That’s massively time‑saving.
It allows creative teams, solo marketers or small businesses to rapidly iterate and test visuals without large budgets.
4. Seamless Workflow Into Video
Because everything lives in invideo, you’re already one platform away from turning that image into a marketing video. No export/import mismatch, no re‑colouring or re‑formatting.
This means your product image concept isn’t just a still — it becomes the foundation of your entire campaign.
Step‑by‑Step: Create Product Image Concepts Inside Invideo
Let’s walk through a typical workflow of using Nano Banana for a product (say, a new wireless earbud) — from prompt to usable visual.
Step 1: Define Your Brief
Start with a clear idea of the product, scene, mood, angle and usage context. Example:
“Wireless earbuds in matte black, placed on a white marble surface, soft morning light, shallow depth of field, close‑up, brand logo visible, minimal background.”
This gives Nano Banana a clear subject + environment, + mood.
Step 2: Log in and Choose Nano Banana Model
- Open invideo → navigate to Agents & Models.
- Select Nano Banana Pro (or base version if you want faster drafts).
- In the prompt box, start your instruction (you can prefix “use nano banana pro” to ensure correct model).
Step 3: (Optional) Upload Reference Images
If you have your brand logo, product in previous shots, and packaging design, upload those images. This helps Nano Banana maintain brand look & feel across generations.
Example: upload a high‑res image of the earbud case or the colour variant.
Step 4: Write the Prompt With Extra Details
Expand your prompt:
“Matte‑black wireless earbuds next to open charging case, ambient soft morning sunlight from left, on white marble, shallow depth of field, brand logo on case top, 4K resolution, close‑up angle.”
Add anything specific: lighting direction, camera angle (close‑up/wide), mood (minimal/high‑end), colour palette.
Step 5: Generate and Review
Click generate → you will see one or several variations. Review for: correct product detail, logo clarity, lighting, angle, and resolution.
If something is off: revise prompt (“angle from above”, “focus on product logo”, “reflective surface highlight”) and regenerate.
Step 6: Download or Edit Inside the Invideo
Once satisfied, download your image or keep it inside invideo workspace. Now it becomes part of your visual asset collection.
Step 7: Move Into Video Editor
- Open invideo editor → Create a new project (for e.g., a product reveal video).
- Import your generated image(s).
- Add subtle motion: zoom‑in, pan across the product, fade out background.
- Add text overlay: product name, slogan.
- Add voice‑over: “Meet our new wireless earbuds…”.
- Add music, transitions, export to target resolution (social, YouTube, etc).
Step 8: Variation and Campaign Scale
If you have multiple variants (colours, accessories, use‑case shots like “earbuds in hand”, “earbuds on table at night”), repeat prompting with tweaks: angle, colour, environment.
Because Nano Banana supports a consistent look, you can maintain the same brand feel across all visuals.
Prompt and Styling Tips for Product Visuals
Small tweaks in your prompt can make a big difference. Here are some tips:
- Focus on material & finish: “Brushed aluminium finish”, “matte black”, “glossy chrome” — gives clarity.
- Specify environment/background: “On marble surface”, “dark tech‑studio background”, “soft pastel room setting”.
- Lighting matters: “Soft morning light”, “studio spotlight top‑right”, “dramatic low‑key lighting with subtle rim light”.
- Camera angle & focus: “Close‑up macro”, “top‑down flat‑lay”, “wide shot showing product + packaging”.
- Brand & text clarity: If logo appears in image, mention “brand logo visible on product”, “branding in bottom‑right”. With Nano Banana Pro you’ll get much better text rendering.
- Resolution specification: “4K resolution, 16‑bit colour” ensures the asset is campaign‑ready.
- Multiple shots for consistency: “Same scene, but change angle to a wide shot” helps you build a set of consistent visuals.
Use Cases for Product Image Concepts
Here are common campaign scenarios where this workflow shines:
- New product launch: Visuals for landing page, hero banner, social ads – you need product isolated on white + lifestyle context.
- E‑commerce thumbnails: Different angles of the same product are quickly generated.
- Explainer video: Product concept shot, then inside editor, you animate features with voice‑over.
- Promo bundle: If you sell an accessory + main product together, you can generate “product + accessory” scenes with correct positioning.
- Seasonal or variant campaigns: Colour variants, limited editions – you keep lighting/styling constant and change only key attributes.
Final Thoughts
If you’re producing product visuals and want to move faster while maintaining high visual quality, using Nano Banana within invideo is a strategic move. Instead of juggling multiple tools—image generator, photo editor, video editor—you have one platform where you:
- Idealise the visual via a prompt.
- Generate a high‑fidelity image concept.
- Edit or refine as needed.
- Bring it into the video workflow.
- Animate, add audio, export campaign assets.
For creators, small businesses and marketers who want to keep control over brand visuals, beat the rush, and produce high‑quality assets without huge budgets — this workflow hits that sweet spot.